Digital Forensics have come to prominent play in Malaysia. More cases in the court are requiring digital evidence to help solve and judge cases. Starting from petty theft, divorces and murders are now requiring the help digital forensic investigators to unravel many mysteries. This is the the right time for anyone interested in Information Technology industry and investigation to jump into this field.
There are already many blogs that already talks about basic digital forensic; I will not be going into the basics of it. This post is basically is my learning process of some of digital forensic tools. I have learned from the community, so I thought its only better if I share my experiences with the people. There will be series of post regarding the tools.
I will start with a digital forensic tool called Autopsy®. Autopsy was previously known or still known as the The Sleuth Kit. It started of as command line tool in linux operating system. The designed the GUI and all this while, it remained as linux tool. Couple of years back, they introduced Autopsy; it was for the windows operating system.
Autopsy has always remained open source and its free to use. You can download Autopsy from
here. At the time of writing this article, the Autopsy was version 4.1.0. Autopsy has a lot of features, please visit this
link to know more about its feature. I highly recommend you to download the 64-bit version as it offers better speed in analyzing the case.
At this point, I assume you have already downloaded. Below will be the screenshots of installation.
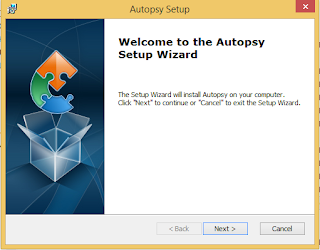 |
| This the welcome screen for the Autopsy Installation |
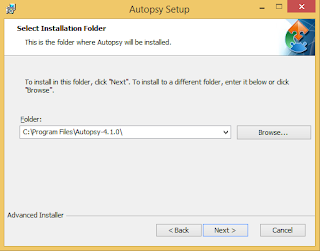 |
| This is the default location of the installation, please feel free to change based on your preference. |
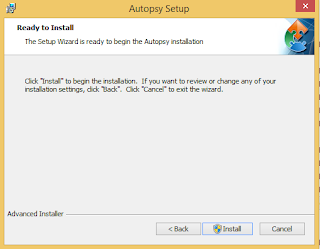 |
| Well, it can't get easier than easy. Press Install. |
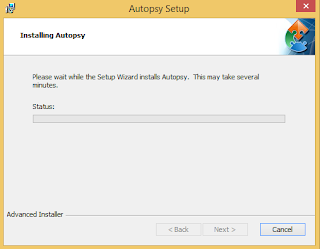 |
| It will take two to three minutes to complete the installation. |
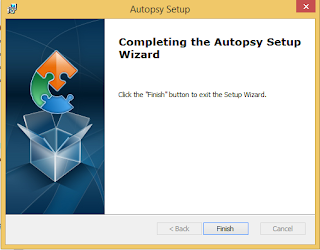 |
| Once the installation is completed, click the finish button. |
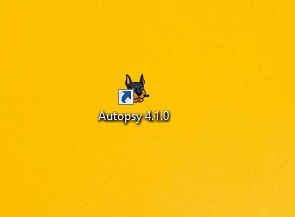 |
| A shortcut with man's best friend should be created on your desktop. |
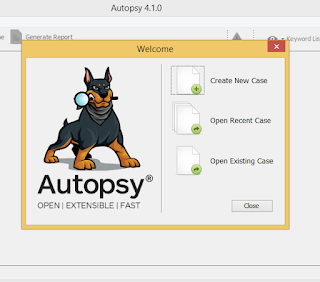 |
| Assuming this is your first time using Autopsy, you may click "Create New Case" |
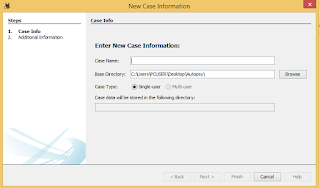 |
| This screen will help you to name your case and select the base directory to save all you cases. |
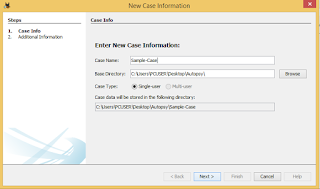 |
| Here, I am using a sample case, I have selected my base directory, please take note at the bottom, it automatically creates a folder based on your case name. |
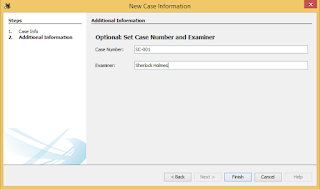 |
| You can provide the case number and the examiner name. |
To work with the same image I am using, please click this link to
download. The image provided is an EnCase image (WinXP2.E01). This image was not prepared by me. It was taken from another
site. It's from www.forensickb.com. It's a great blog for all digital forensic enthusiast. Please feel free to visit their site. In my next article, I will provide the scenario and other related materials for the case. Let's continue with our case setup.
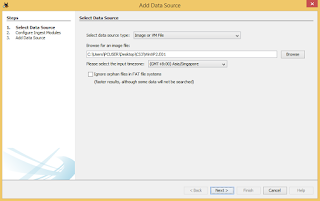 |
| Adding the data source for the case - Figure 11 |
Refer to Figure 11 - Please navigate to the EnCase image file that you downloaded and select it. At the select data source type, there will be few options to select from, 1. "Image or VM File" 2. "Local Disk" and 3. "Logical Files". Local Disk refers to any attached hard drive to the current workstation and Logical Files refers to any folders or files. In our case, it will be the first option.
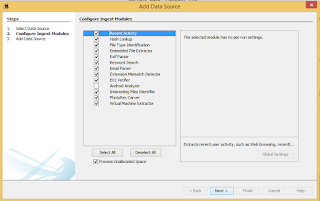 |
| Selecting the Ingest Module - Figure 12 |
Refer to Figure 12 - Autopsy comes with native ingest modules that we can select, for the autopsy to process our image. In the image above, I did not select the Android Analyzer as it is not relevant to our image file.
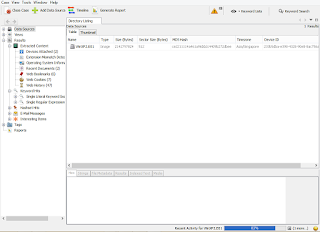 |
| The Autopsy work space after adding the data source - Figure 13 |
Refer to Figure 13 - Once you click next, you will arrive here. This is our work space. I will explain in detail in our next article.
I hope this article will be helpful for those who are just starting your journey into digital forensic. I would like to end this article with a quote from Bruce Lee - "A goal is not always meant to be reached, it often serves simply as something to aim at."


